

Precision metal stamping is a high-volume manufacturing process that uses hardened steel dies and a mechanical or hydraulic press to cut, bend, and shape flat metal sheet into finished parts, repeatedly, at tight tolerances often held to ±0.001 inch. It’s the dominant method for producing complex metal components at scale because it combines speed, repeatability, and low per-part cost once tooling is in place. Industries from automotive to medical devices rely on it for everything from brackets to electrical contacts.
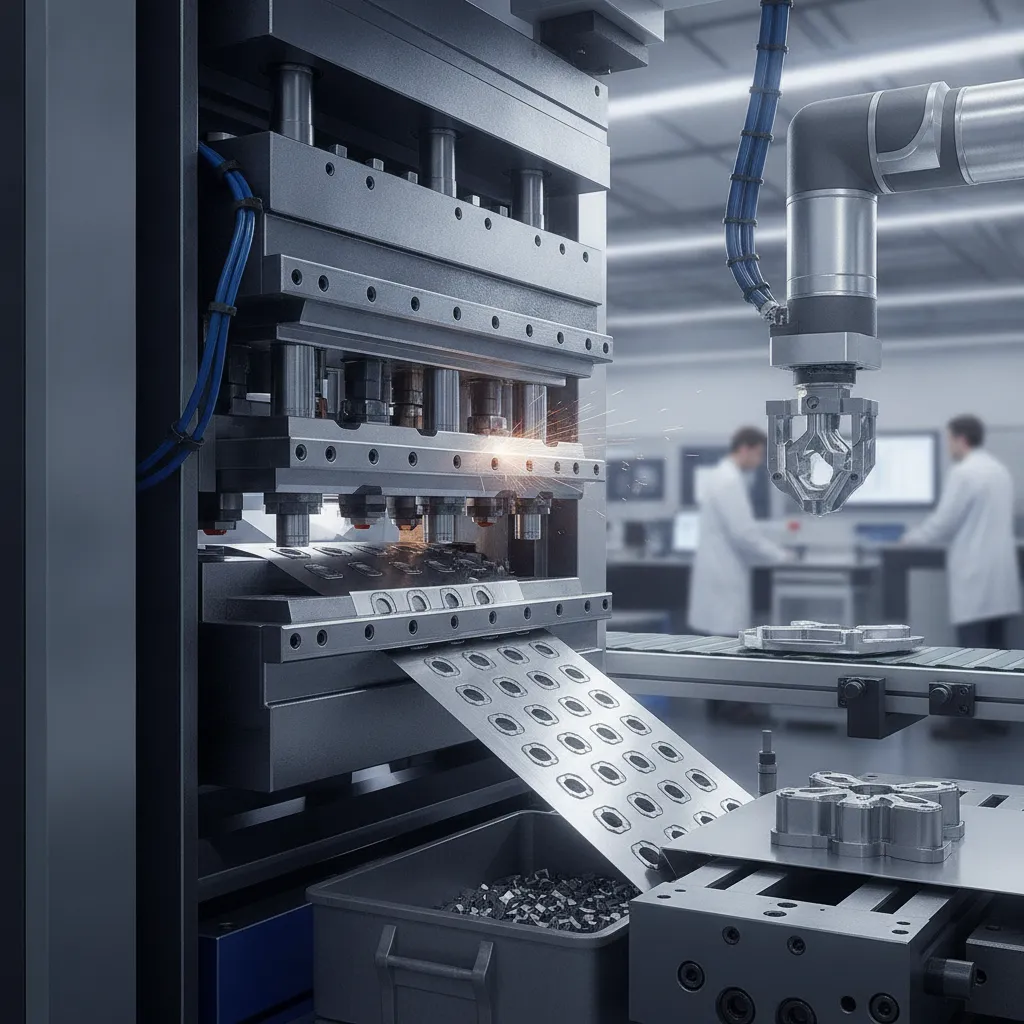
What Is Precision Metal Stamping and How Does It Work?
Precision metal stamping uses a hardened die set inside a mechanical or hydraulic press to cut and form flat metal sheet into finished parts at tolerances as tight as ±0.001 inch.
The word “precision” separates this process from general stamping. Standard stamping may hold ±0.010″ or looser. Precision stamping targets ±0.001″–±0.005″, a range that matters for connectors, medical components, and any part that must mate reliably with another.
Presses range from 20 tons for small, thin-gauge parts to 2,000+ tons for heavy structural components. Part geometry, material thickness, and the number of forming stages all drive press selection. A simple bracket might run on a 50-ton press; a deep-drawn automotive housing may need 400 tons or more.
“Precision stamping is not just about hitting a number on a drawing — it’s about sustaining that number across millions of cycles with consistent material, tooling, and process control.” — James R. Koelsch, Contributing Editor, Manufacturing Engineering Magazine
Key Steps in the Metal Stamping Process
Most precision stamping operations follow five stages, whether the die is a simple single-station tool or a 20-station progressive die:
- Coil or sheet feeding: A metal coil unwinds through a straightener and feeder, advancing the strip a precise increment with each press stroke.
- Blanking: The press punches out a flat blank, or, in progressive tooling, begins shaping the strip while it remains connected.
- Forming and bending: Subsequent stations bend, draw, or coin the metal into its three-dimensional shape.
- Piercing: Holes, slots, and cutouts are punched to final size and position.
- Part ejection and inspection: Finished parts are ejected, and inline sensors or vision systems flag dimensional deviations before parts leave the press.
Modern stamping lines can produce 200–1,500 parts per minute for simple geometries, which is why per-part cost drops sharply at high volumes once tooling is amortized. According to American Industrial Co., progressive die lines running high-speed applications routinely achieve cycle rates that make stamping the most cost-efficient forming method available at scale.
For a visual overview of how a stamping line operates in practice, this metal stamping process video on YouTube walks through the key stages from coil feeding to finished part ejection.
What Tolerances Can Precision Metal Stamping Achieve?
Tolerance capability depends on the die type, material, and press condition, but concrete benchmarks exist. Progressive die stamping routinely holds ±0.002″ on hole location. Deep-drawn parts can maintain wall thickness variation under 5%, provided the draw ratio and material ductility are matched correctly.
Repeatability across volume is as important as the tolerance on any single part. A process that hits ±0.003″ on part one but drifts to ±0.010″ by part 50,000 is not precision stamping. Well-maintained tooling, controlled strip lubrication, and consistent coil material properties are what sustain tight tolerances across millions of cycles.
Main Types of Metal Stamping Processes Compared
Progressive die, compound die, and deep draw are the three core precision metal stamping methods, each optimized for different part geometry, volume, and tooling budgets.
Progressive Die vs. Compound Die Stamping: Key Differences
Progressive die stamping feeds a metal strip through a series of stations, each performing one operation, punching, bending, trimming, before the finished part separates at the final station. Tooling runs between $20,000 and $250,000+, but that upfront cost spreads across high production volumes, delivering the lowest per-part cost of any stamping method. It’s the right choice for complex, high-volume components like connectors, brackets, and contact elements. According to Precision Stamping Company, progressive die tooling is the preferred approach for any program requiring consistent output above 100,000 parts annually.
Compound die stamping completes multiple operations, typically cutting and piercing, in a single press stroke. Tooling costs drop sharply, from $5,000 to $30,000, but the process is limited to simpler, flat parts. Medium-volume runs of washers, flat brackets, or stamped hardware are where compound die delivers the best return.
The table below summarizes the key trade-offs:
| Method | Tooling Cost | Best For | Part Complexity |
|---|---|---|---|
| Progressive Die | $20,000–$250,000+ | High-volume, complex parts | High |
| Compound Die | $5,000–$30,000 | Medium-volume, flat parts | Low |
| Deep Draw | Varies by depth/diameter | Hollow, axisymmetric forms | Medium–High |
When to Use Deep Draw Stamping Instead of Other Methods
Deep draw stamping pulls sheet metal into a die cavity, forming hollow, cup-shaped parts without welding or joining separate pieces. Automotive fuel tanks, canisters, and housings are classic examples, parts where wall thickness must stay close to the original sheet gauge throughout the form.
Progressive and compound dies can’t produce these hollow 3D shapes; deep draw is the only viable stamping method for axisymmetric geometries with significant depth-to-diameter ratios. When a part is too large or complex to stay on a strip but still requires multi-stage forming, transfer die stamping bridges the gap, moving individual blanks between stations rather than keeping them connected to a carrier strip.
Choosing the wrong process early locks in cost and lead-time problems that are difficult to reverse once tooling is cut.
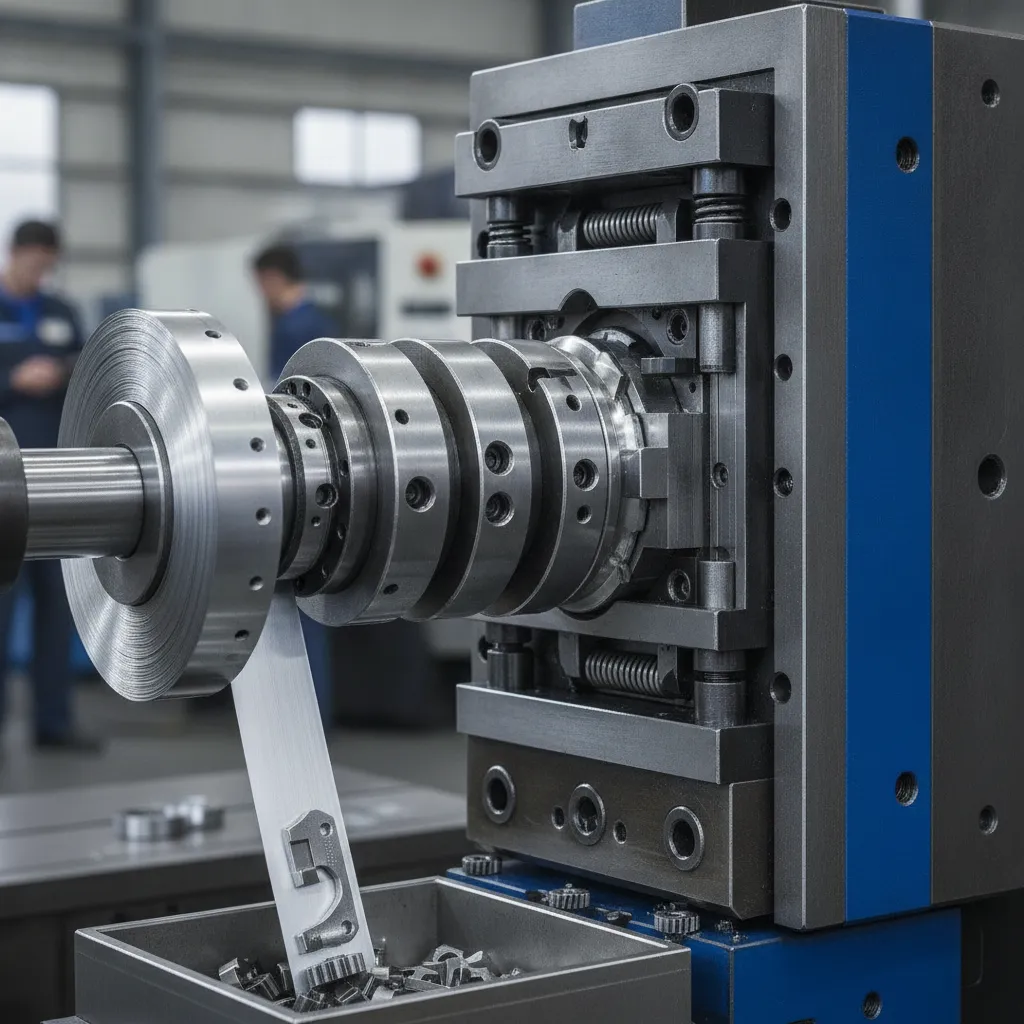
Which Materials Work Best for Metal Stamping?
Low-carbon steel, aluminum alloys, copper alloys, and stainless steel each suit different stamping applications, material choice drives cost, tool life, and part performance.
How Steel, Aluminum, and Copper Alloys Compare for Stamping
Low-carbon steel grades 1008 and 1010 are the most stampable materials available. They offer excellent formability, the lowest raw material cost, and wide use in automotive body panels and structural brackets. The trade-off is corrosion susceptibility, uncoated parts rust without a post-process finish such as zinc plating or powder coating.
Aluminum grades 3003, 5052, and 6061 weigh roughly one-third as much as steel, which makes them the default choice for aerospace and EV components where mass matters. Aluminum costs approximately 2–3× more per pound than mild steel, and its higher springback means die designers must compensate with overbend geometry to hit final tolerances.
Copper and brass alloys, particularly C110 and C260, deliver the best electrical conductivity of any common stamping material, making them standard for terminals and connectors. They run $3–$6 per pound and work-harden quickly, so production either starts with annealed stock or includes intermediate annealing steps between forming stages.
Stainless steel grades 304 and 316 are the hardest to stamp. They require 50–100% more press tonnage than mild steel and accelerate die wear significantly, but they remain essential for medical instruments and food-processing equipment where corrosion resistance is non-negotiable.
Precision metal stamping typically handles material gauges from 0.004″ to 0.250″. Stock thicker than 0.250″ generally shifts the process toward cold forging or CNC machining, where the force requirements and material removal economics are more favorable.
“Material selection is one of the most consequential decisions in a stamping program. The wrong alloy can double your tooling wear rate and push scrap beyond acceptable limits within the first production run.” — Dr. Stuart Keeler, Technical Editor, Metalforming Magazine
Why Stamping Dies Are Expensive and What Drives Tooling Costs
Stamping die costs range from $1,000 for a simple blanking die to $250,000+ for a multi-station progressive die, volume and complexity determine whether that investment pays off.
Die steel grade is the first major cost driver. Shops cutting abrasive materials such as stainless steel or silicon steel specify D2 tool steel or carbide inserts, both of which cost significantly more than standard tool steel. Standard tooling is typically rated for 500,000 to 2 million hits; carbide tooling extends that to 5 million or more, spreading the cost over a much larger part count.
Other variables that push the price up include the number of cavities, the number of forming stations, surface finish requirements, and the tolerance band on the finished part. Tighter tolerances demand more precise EDM work and longer bench time, both of which add directly to the quote.
Typical die cost ranges break down as follows:
- Simple blanking die: $1,000–$5,000
- Compound die: $5,000–$30,000
- Progressive die: $20,000–$250,000+
- Deep draw tooling: $15,000–$100,000
In-House Tooling vs. Outsourced Die Manufacturing
Shops that build dies in-house protect their IP, iterate faster, and reduce long-run tooling costs, but that capability requires $500,000 or more in EDM and surface grinding equipment. It only makes economic sense for high-volume, repeat programs where that capital can be amortized across millions of parts.
Outsourcing die manufacturing lowers the upfront commitment and gives buyers access to specialized toolmakers. The trade-off is a typical lead time of 6 to 16 weeks for a progressive die, plus longer revision cycles when design changes are needed mid-program.
How Progressive vs. Compound Dies Affect Your Total Tooling Investment
The amortization math is the clearest way to evaluate die type against expected volume. A $50,000 progressive die spread across 1 million parts adds $0.05 per part. Run only 100,000 parts and that same die costs $0.50 per part, a 10× increase in tooling burden per unit.
That math is why precision metal stamping programs with annual volumes below 50,000 parts often favor compound dies despite their lower capability ceiling. Progressive tooling earns its premium only when volumes are high enough to drive the per-part cost below what a simpler die could achieve at lower total spend.
How to Choose the Right Stamping Method for Your Production Needs
Match your stamping method to three variables: annual volume, acceptable lead time, and part geometry, get all three right and per-part cost drops sharply.
How Production Volume and Timeline Shape Your Method Choice
Volume is the first filter. Under 10,000 parts per year, compound or soft tooling keeps tooling investment low and risk manageable. Between 10,000 and 100,000 parts, evaluate progressive versus compound based on part complexity, a simple flat bracket may stay on a compound die profitably, while a multi-feature connector almost always benefits from progressive tooling. Above 100,000 parts annually, progressive die precision metal stamping wins on per-part cost in nearly every case, because the higher tooling investment amortizes quickly across the run.
Part geometry is the second filter. If your design requires more than 3 bends, holes in multiple planes, or a depth-to-diameter ratio above 0.5, progressive or deep draw tooling is likely required, compound dies cannot handle that level of three-dimensional forming in a single station.
Before locking in tolerances, request a Design for Manufacturability (DFM) review from your stamping partner. Tightening a tolerance from ±0.005″ to ±0.001″ can increase die cost by 30–60% and raise scrap rate significantly, changes that are far cheaper to make on a drawing than on a finished tool.
Lead Times and Minimum Order Quantities by Stamping Method
Factor tooling lead time directly into your product launch schedule. Soft or prototype tooling ships in 2–4 weeks. Compound die tooling typically takes 4–8 weeks. Progressive die tooling runs 8–16 weeks from order to first-article approval, a timeline that can determine whether you hit a market window or miss it.
Minimum order quantities follow the same pattern. Most precision stamping shops set MOQs at 500–5,000 pieces for compound dies and 5,000–25,000 pieces for progressive dies, reflecting the setup time each method demands. If your program sits below those thresholds, soft tooling or a contract manufacturer that aggregates low-volume runs is a more practical starting point.
“The biggest mistake buyers make is selecting a stamping method based on tooling cost alone, without accounting for lead time, scrap rate, and the total cost of quality over the life of the program.” — David Klotz, Senior Applications Engineer, Precision Metal Forming Association
Frequently Asked Questions
What is the difference between metal stamping and metal fabrication?
Metal stamping is a subset of metal fabrication that uses dies and presses to shape flat sheet metal into parts at high speed. Metal fabrication is the broader category, it includes cutting, welding, bending, and assembling metal components by various methods. Stamping excels at producing identical parts in large volumes quickly, while fabrication covers one-off or low-volume work that stamping dies cannot economically justify.
How long does a stamping die last before it needs to be replaced?
A well-maintained stamping die typically lasts between 500,000 and 1 million press cycles before requiring significant rework or replacement. Die life depends on the material being stamped, the die steel grade, press tonnage, and lubrication practices. Harder materials like stainless steel wear dies faster than mild steel or aluminum. Regular inspection and sharpening of punch edges can extend service life considerably.
Can precision metal stamping produce prototypes, or is it only cost-effective at high volumes?
Stamping can produce prototypes, but tooling cost makes it expensive for very small runs unless a soft tooling approach is used. Soft tooling, dies made from aluminum or lower-grade steel, costs significantly less than production hardened-steel dies and suits quantities from a few dozen to a few thousand parts. Some manufacturers also use laser cutting or CNC punching to validate part geometry before committing to stamping tooling.
What quality control standards apply to precision stamped parts?
Precision stamped parts for regulated industries must meet standards such as IATF 16949 for automotive, ISO 13485 for medical devices, and AS9100 for aerospace components. Dimensional verification typically uses coordinate measuring machines (CMMs), optical comparators, and go/no-go gauges. Surface finish, burr height, and flatness tolerances are checked against engineering drawings, and statistical process control (SPC) is applied on high-volume runs to catch drift before defects accumulate.
What industries rely most heavily on precision metal stamping?
Precision metal stamping serves a wide range of industries, with automotive, electronics, aerospace, and medical device manufacturing among the heaviest users. Automotive applications include body panels, brackets, and fuel system components. Electronics manufacturers depend on stamped copper and brass terminals, connectors, and shielding parts. Medical device producers use precision stamped stainless steel for surgical instruments and implant components, where dimensional consistency and material traceability are strictly regulated.
Conclusion
Precision metal stamping delivers repeatable, tight-tolerance parts at a per-unit cost that no manual process can match, but only when the die design, material selection, and process controls are aligned from the start. The three decisions that matter most before a production run begins are choosing the right die type for your geometry, confirming your material’s formability against your tolerance requirements, and establishing a quality inspection plan that catches dimensional drift early.
As a concrete next step, request a Design for Manufacturability (DFM) review from your stamping supplier before finalizing part drawings. A DFM analysis identifies features, sharp internal corners, inconsistent wall thickness, tight hole-to-edge ratios, that drive up tooling cost or cause scrap, and it costs nothing to address them on paper before the die is cut.
Recommended Articles
Explore more from our content library:
- Choosing Between Cold Heading and Machining
- A Complete Guide to Metal Polishing and Finishing Techniques
- How to Choose Between Cold Heading and Machining
- <a href="https://gcnov.com/swiss-machining-what-it-is-and-when-to-use-it/" title="Swiss Machining: What It Is and How It Works”>Swiss Machining: What It Is and How It Works
- <a href="https://gcnov.com/what-is-sheet-metal-fabrication-core-processes-and-industria/" title="Sheet Metal Fabrication Process: Core Techniques and Steps”>Sheet Metal Fabrication Process: Core Techniques and Steps
