

Understanding metal anodizing process is essential. Metal anodizing is an electrochemical process that converts the surface of a metal, most commonly aluminum, into a durable, corrosion-resistant oxide layer. The metal part acts as the anode in an electrolytic bath; when electrical current passes through, oxygen ions bond with the metal surface to form a hard, porous oxide coating. That coating can then be dyed for color and sealed for maximum protection, making anodizing a go-to finish for aerospace, consumer electronics, and architectural components.
What Is the Metal Anodizing Process and How Does It Work?
The metal anodizing process uses electrical current to grow an oxide layer directly within a metal’s surface, not on top of it, like paint or plating.
In practice, the metal part is submerged in an electrolyte bath, most commonly dilute sulfuric acid, and connected as the anode of an electrolytic cell. A cathode, typically aluminum or lead, completes the circuit. When current flows, water molecules at the anode surface release oxygen ions that migrate into the metal and react with it, forming aluminum oxide (Al₂O₃) from the inside out. The resulting layer is chemically bonded to the base metal, not deposited on top of it.
That structural difference matters enormously. Because the oxide grows into the metal rather than sitting on its surface, it cannot peel, flake, or chip the way paint or electroplated coatings can. It also creates a porous microstructure that accepts dyes and sealants at the molecular level.
Three distinct process types exist, each producing different coating characteristics:
- Type I (chromic acid anodize): Produces the thinnest coatings, typically under 2.5 µm, with minimal dimensional change. Used where tight tolerances must be preserved.
- Type II (sulfuric acid anodize): The most common commercial type, producing coatings of roughly 5–25 µm. Accepts dye readily and offers solid corrosion resistance.
- Type III (hard anodize): Also run in sulfuric acid but at lower temperatures and higher current density, producing coatings of 25–150 µm with significantly greater hardness, often exceeding 60 HRC equivalent, suited to wear-intensive applications.
Why anodize metal parts? Key benefits explained
Anodizing improves corrosion resistance, surface hardness, and paint adhesion simultaneously, without adding meaningful weight to the part.
The oxide layer is electrically non-conductive and chemically stable, which slows oxidation even in salt-spray or high-humidity environments. The porous structure, before sealing, also bonds more reliably with adhesives and primers than bare metal does. For manufacturers producing components that need both cosmetic finish and functional durability, anodizing often replaces multiple separate finishing steps.
What metals can be anodized besides aluminum?
Titanium, magnesium, zinc, niobium, and zirconium can all be anodized, though aluminum dominates commercial production by a wide margin.
Aluminum’s dominance comes down to two factors: its natural tendency to form a stable oxide and the broad range of alloys available, from the 2000-series aerospace grades to the 6000-series extrusion alloys, each responding predictably to the anodizing bath. Titanium anodizing is used in medical implants and jewelry, where thin-film interference creates color without dye. Magnesium anodizing appears in aerospace and defense where weight reduction is critical, though the process requires tighter process controls than aluminum.
Step-by-Step Process Flow: Parameters, Temperatures, and Timing
The metal anodizing process runs five sequential stages, cleaning, etching, anodizing bath, dyeing, and sealing, each with precise parameters that determine final coating quality.
Temperature, voltage, and timing parameters by anodizing type
Bath temperature and applied voltage are the two variables that most directly control oxide thickness and hardness. Type II sulfuric acid anodizing typically runs at 18–22°C with 12–18 V and a current density of 1–2 A/dm², producing a coating of 5–25 µm. Type III hard anodizing drops the bath temperature to 0–5°C and raises voltage to 18–24 V, the colder electrolyte slows oxide dissolution, allowing the coating to build to 25–150 µm with significantly greater surface hardness.
Immersion time scales with target thickness. A 25 µm Type II coating typically requires 20–30 minutes; a 75 µm Type III hard coat may need 60–90 minutes. Deviating from the specified current density, even briefly, causes uneven oxide growth or burning at part edges.
The role of cleaning, dyeing, and sealing in the anodizing process
Cleaning and degreasing remove oils and machining residues that would block oxide formation. Etching in sodium hydroxide then removes the natural oxide layer and smooths micro-surface irregularities. Skipping either step leaves contamination that creates bare spots or adhesion failures in the finished coating.
The dyeing stage works because the freshly anodized oxide is porous, dye molecules diffuse into those open pores before sealing closes them. Pore diameter is governed by bath acid concentration and temperature, so tighter process control produces more consistent dye uptake and color uniformity.
Sealing converts the porous oxide into a closed, corrosion-resistant surface through one of three methods. Hot deionized water at 96–100°C triggers hydration of aluminum oxide into boehmite, physically closing pores. Nickel acetate sealing at similar temperatures deposits nickel hydroxide within the pores, adding chemical resistance. Mid-temperature sealing (60–80°C) with nickel fluoride offers faster cycle times while achieving comparable closure, a common choice in high-volume production where throughput matters.

Anodizing vs. Electroplating, Powder Coating, and Passivation
Anodizing, electroplating, powder coating, and passivation each protect metal differently, choosing the wrong process costs you dimensional accuracy, service life, or both.
When to choose anodizing over passivation, plating, or powder coating
Anodizing vs. electroplating: The metal anodizing process grows an oxide layer directly from the base metal itself, no foreign material is deposited on the surface. Electroplating bonds a separate metal layer (nickel, chrome, zinc) on top. That distinction matters for tight-tolerance parts: anodizing adds predictable, minimal thickness (typically 5–25 µm for Type II), while a plated layer can vary and may delaminate if adhesion fails over time. Anodized oxide is chemically integrated into the substrate, so it cannot peel.
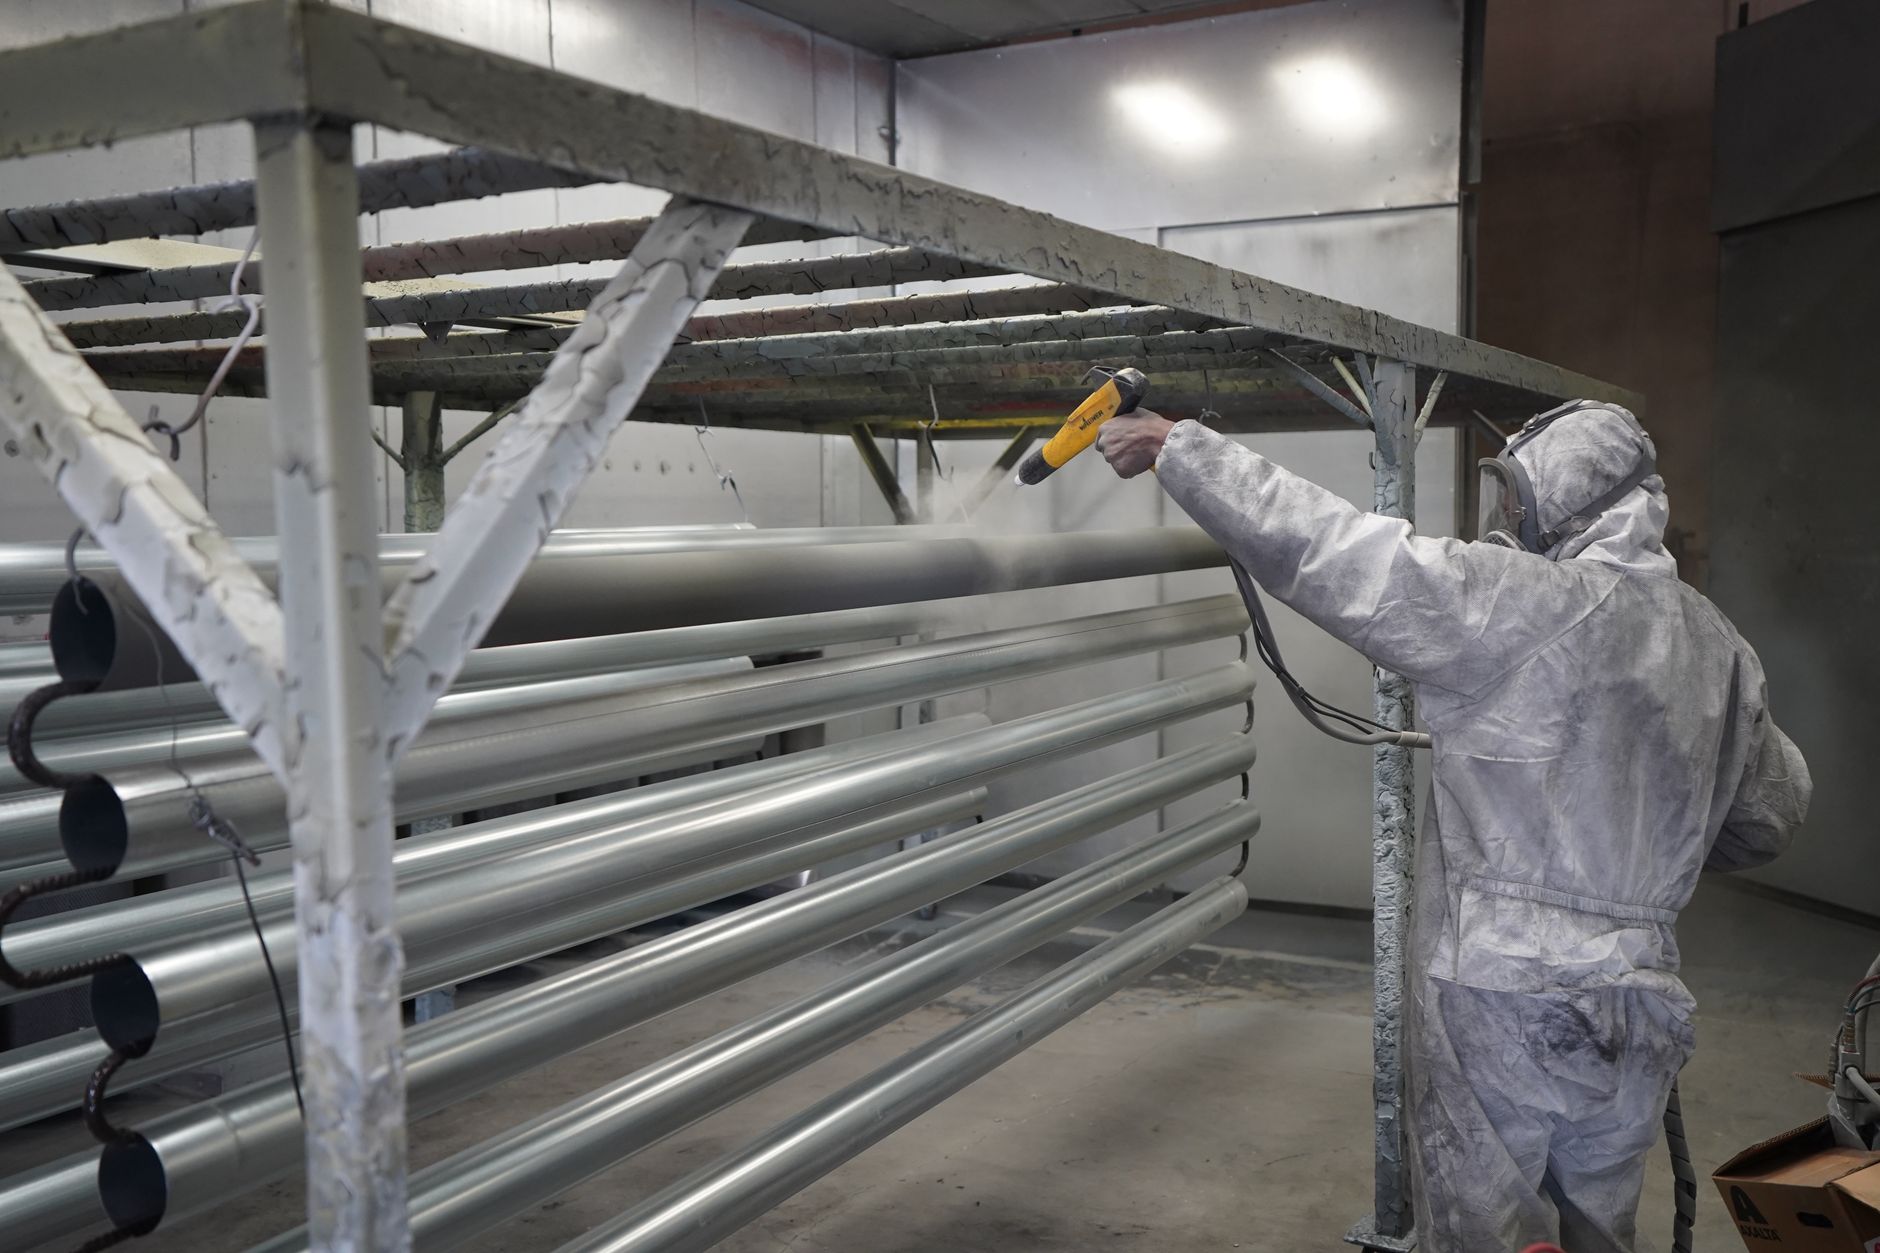
Anodizing vs. powder coating: Powder coating sits on top of the metal surface and runs 60–100 µm thick on average, far thicker than most anodized films. That added material throws off tight dimensional tolerances. Powder coating also has lower surface hardness than hard-anodized (Type III) finishes, making it a poor choice for wear-critical components. Anodizing wins on precision; powder coating wins on color variety and cost for structural parts where tolerances are loose.
Anodizing vs. passivation: Passivation is a chemical treatment, typically a nitric or citric acid bath, that strips surface contaminants and lets stainless steel form its own thin native oxide. It does not build a thicker engineered layer. Anodizing actively constructs a controlled oxide of defined depth. Use passivation for stainless steel components where you need cleanliness and basic corrosion resistance; use anodizing for aluminum parts that must handle abrasion, hard wear, or decorative dyeing.
Decision framework: Specify Type III hard anodizing when the substrate is aluminum, operating conditions involve abrasion or chemicals, and dimensional tolerances are tight. Choose powder coating when the part is steel or requires heavy color coverage and tolerances allow extra build-up. Choose electroplating when conductivity, solderability, or a specific metal surface property (such as chrome hardness) is the goal. Passivation stays the right call for stainless steel parts that need contamination removal without altering geometry.
Common Anodizing Defects, Quality Issues, and How to Prevent Them
Most anodizing failures trace back to four root causes: wrong alloy choice, surface contamination, bath temperature drift, and poor racking contact points.
Streaking appears when surface oils or machining residue survive pre-treatment cleaning, the oxide layer grows unevenly over contaminated zones. Pitting results from chloride contamination in the electrolyte bath or on the part surface. Uneven color after dyeing usually signals inconsistent oxide thickness, often caused by bath temperature swinging more than ±1°C during the metal anodizing process. Powdering, a chalky white surface, occurs when the bath runs too hot or the current density is too high, burning the outer oxide layer. Blistering points to hydrogen trapped beneath the coating, typically from inadequate rinsing between process stages.
Alloy composition drives anodizability more than any single process variable. High-silicon alloys in the 4xxx series anodize poorly: silicon particles interrupt oxide growth, producing dark, blotchy coatings with inconsistent thickness. Alloys 6061 and 7075 anodize predictably because their silicon content is low enough that the aluminum matrix oxidizes uniformly. The mechanism is straightforward, silicon does not oxidize at the same rate as aluminum, so high concentrations create competing electrochemical reactions at the surface.
Mechanical design factors to consider before anodizing parts
Sharp internal corners concentrate current density and generate localized heat, which burns the oxide layer at those points. Blind holes trap acid during the sulfuric acid bath and resist rinsing, leaving residue that causes pitting or staining after sealing. Racking contact points, where the fixture grips the part, remain uncoated, so designers should place them in non-functional areas specified on the drawing.
Quality control at each stage catches defects before they reach the customer. Coating thickness measurement (typically via eddy-current gauges) confirms the oxide layer meets specification. Hardness testing verifies Type III coatings achieve the wear resistance the application requires. Salt spray testing, run per ASTM B117, reveals corrosion resistance under accelerated conditions. Visual inspection under controlled lighting catches streaking, color variation, and contact marks that instruments alone may miss.
Costs, Environmental Regulations, and Practical Considerations for Anodizing
Anodizing cost and regulatory burden vary significantly by process type, with Type I carrying the highest compliance overhead and Type II offering the most accessible entry point.
Type I chromic acid anodizing sits at a premium price tier. Hexavalent chromium is a classified hazardous material, so facilities must invest in specialized handling, storage, and disposal infrastructure, costs that flow directly into part pricing. Type II sulfuric acid anodizing is the most widely available option and the most budget-friendly, which explains why it dominates general-purpose production runs. Type III hard anodizing occupies a mid-to-premium range: longer bath cycle times and tighter process control (current density, temperature, and acid concentration all require closer monitoring) drive up operating cost per part.
Batch size and racking geometry also shape per-part economics. Larger batches spread fixturing and setup costs across more parts, lowering the unit price. Poor racking, parts positioned so they shadow each other or make inconsistent electrical contact, reduces yield and raises effective cost. Lead time is primarily a function of bath capacity and queue depth at the facility, so communicating your volume, alloy, and finish requirements upfront gives a supplier the information needed to schedule your job accurately.
Environmental impact and waste disposal requirements for anodizing facilities
The metal anodizing process generates wastewater containing aluminum salts, nickel compounds from sealing baths, and, in Type I operations, hexavalent chromium. Facilities must operate neutralization tanks and filtration systems to treat this effluent before discharge meets regulatory thresholds.
Hexavalent chromium toxicity has placed Type I anodizing under increasing restriction across multiple environmental frameworks. Many facilities are transitioning to trivalent chromium alternatives, which carry a lower toxicity profile. For specifiers, this shift matters: if a drawing calls for Type I, confirm your supplier still operates a compliant chromic acid line, or evaluate whether a trivalent-chromium or Type II process meets your corrosion and coating-thickness requirements.
Frequently Asked Questions
Can you anodize stainless steel or carbon steel?
Stainless steel and carbon steel cannot be anodized using conventional processes. Anodizing depends on a metal forming a stable, porous oxide layer under electrical current, aluminum, titanium, magnesium, and niobium do this reliably. Steel forms iron oxide (rust) rather than a protective anodic film, so the process breaks down. Steel parts that need surface protection typically go through electroplating, phosphating, or powder coating instead.
How thick is an anodized coating, and does it change part dimensions?
Anodized coatings range from roughly 5 microns for Type I up to 25 microns for Type II, and 25–150 microns for Type III hard anodizing. The coating does change part dimensions, approximately half the layer grows outward from the original surface, and half penetrates inward. On tight-tolerance features such as threaded holes or press-fit bores, engineers typically machine those surfaces slightly undersize to account for the buildup before anodizing.
What is the difference between Type II and Type III hard anodizing?
Type II uses a sulfuric acid bath to produce a coating typically 5–25 microns thick, suited for general corrosion protection and dyeing. Type III, also called hardcoat anodizing, runs at lower temperatures and higher current density to produce a denser, thicker oxide layer, often 25 microns or more, with significantly higher surface hardness and wear resistance. Type III is the standard choice for components that face abrasion, sliding contact, or harsh environments.
How long does an anodized finish last outdoors?
A properly sealed Type II or Type III anodized finish on aluminum can last 10–20 years outdoors under normal atmospheric exposure, depending on coating thickness, alloy, and sealing quality. Coastal or industrial environments accelerate degradation through salt and pollutant exposure. Regular cleaning with mild detergent, avoiding abrasive or alkaline cleaners, extends service life considerably.
Conclusion
The metal anodizing process is not a single technique but a family of electrochemical treatments, Type I, II, and III, each matched to specific performance demands. Choosing the wrong type costs you either over-engineered expense or premature surface failure. Three decisions matter most: select the anodizing type based on the wear and corrosion environment your part will actually face, account for dimensional growth before machining tight-tolerance features, and specify sealing explicitly to lock in corrosion resistance and dye retention.
As a concrete next step, pull your current part drawing and identify any bore or thread dimensions that fall within 25 microns of your tolerance limit, those features need pre-anodizing compensation before you send parts to the surface finisher.
Recommended Articles
Explore more from our content library:
